First Week @ Intensive Basic Patisserie - Part One
May 07, 2015
I was extremely excited with my first week at school. It seems that this year they introduced a new feature on their website, so you can see all your planned schedule ahead of time.
So by the time I received the e-mail welcoming me and giving me all the first day instructions, I logged in my student portal and checked when I had classes, which were my free days (I was hoping I could make a short trip to London and see Once during the week… no luck :( ) and so on.
Basically on the first day, there is an introductory presentation about the school regarding the rules, the basics of the course (how grading is done, pass criteria, course structure, etc), some general information about schedule, how you should wear your uniform and all the like.
Then they send you to the Admissions Office, because some people may have pending documents to prepare for registering their visa (wasn't my case at the time) or some other paperwork to fill out. Once you're done, they take you on a tour to the school so you can check out the premises and see where is each class/kitchen. Finally, they give you your tools (a complete knife set, a scale and some bowls), your uniform (3 knots, 2 hats, ugly hair nets, 3 shirts, 2 pants, 3 kitchen cloths and 3 aprons -- the shoes you have to buy yourself) and two books from the school, as well as the brochure with all the recipes from the course with your name on it :)
The second day was more interesting because we were having two demonstrations and one practical class.
First demo, or demo #0 is related to all the ingredients we often use in classes but buy them pre-made. Chef made to us praliné, apricot nappage, pâte de amandes (raw and cooked), coffee extract, fondant and probably some other things I don't recall by heart.
The main reason to have this class is for us to understand how these products are made because who knows where we'll be working in the future and what we'll need to do. They say it's better to buy them directly from the stores due to the amount of time it takes to make them each time, as well as the quality of the final product (not always we have the right machinery to make proper praliné, fondant or marzipan, for example).
Then we finally had demo #1, followed by practical #1. The main topic covered in this class are sablée doughs. The chef made many different kinds of biscuits showing us the technique of smearing the dough over the countertop to prevent it from getting too elastic (which is completely undesired for biscuits in general) - aka developing too much gluten.
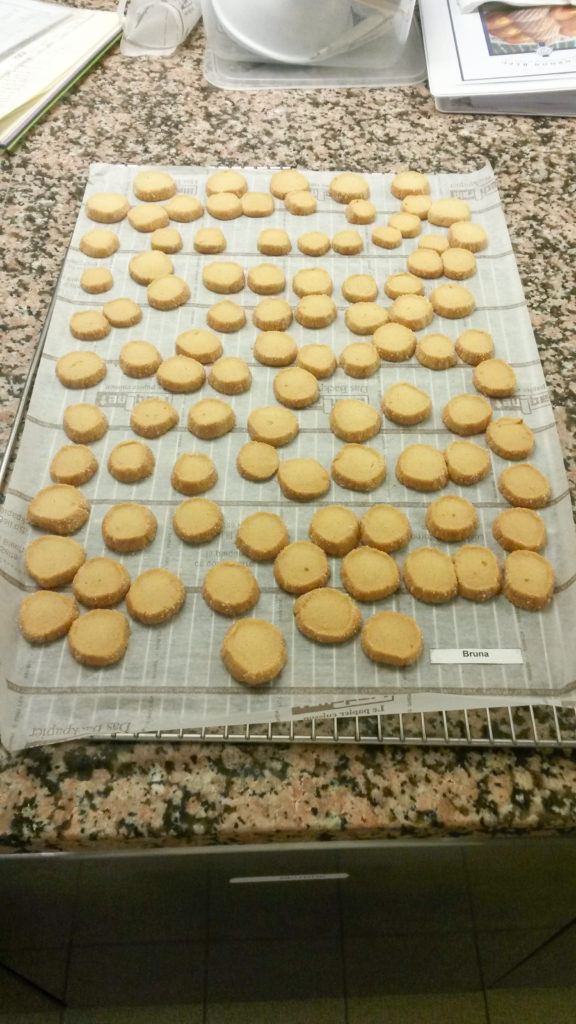
Practical class was for "Diamonds" biscuits: simple sablée biscuits with a hint of lemon zest and covered with granulated sugar. The goal of this class was to make an uniform, round biscuit… you can see from the picture that I didn't succeed with that :)
Second day was also related to sablées, but now for pie crusts. I was particularly excited about this class because:
- I've always wanted to know how to make those perfect, uniform pie crusts;
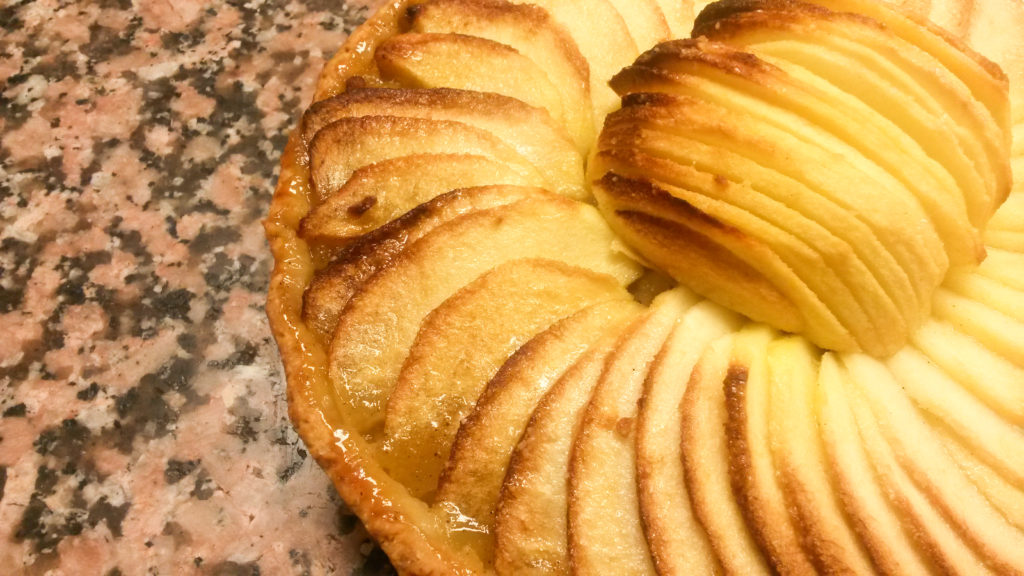
- It was apple pie day, and I have a thing with apple pies, cinnamon and vanilla;
- Apart from the standard apple pie, they also make Tarte Tatin and Tarte Normande for the students to taste. An apple blast!
- Biscuits are boring to make, so for me this was the first "real" class and practical.
Most of the class was covered by the proper technique on how to line a pie ring (yes, a ring! No bottom!), which is very important since it is one of the things they ask on the final test.
My pie was pretty much OK but I wanted to make two layers of apple, just like the Chef did at the demo, but they were too big to fit into the tiny ring. But I think it turned out well, got a few compliments from my friends ;)
With a big pie and a bag of biscuits I went off to home to taste all these delicious things and get some sleep for the rest of the week.
Want to know more? Check what happened on the following weeks!
First Week - Part Two
Second Week
Third Week
Fourth Week
Final Test


